[Bitnami] 파이썬 웹실행을 위한 httpd.conf 변경
반응형
Windows 환경에서 Bitnami 설치 후 Python 웹 실행을 위해 httpd.conf 환경 파일 수정이 필요하다.
1. 자신이 Bitnami 를 설치한 폴더 내에 /apache2/conf/httpd.conf 파일을 편집기로 열어준다.
(예: C:/Bitnami/wampstack-8.1.1-0/apache2/conf/httpd.conf )
필자는 파일을 편집 전 원본 파일을 따로 복사해두길 권장한다.
2. 파일 내에 mod_cgi 찾아 LoadModule cgi_module modules/mod_cgi.so 명시된 구문을 주석을 해제한다.
#LoadModule cache_disk_module modules/mod_cache_disk.so
#LoadModule cache_socache_module modules/mod_cache_socache.so
#LoadModule cern_meta_module modules/mod_cern_meta.so
LoadModule cgi_module modules/mod_cgi.so
#LoadModule charset_lite_module modules/mod_charset_lite.so
#LoadModule data_module modules/mod_data.so
#LoadModule dav_module modules/mod_dav.so
3. 파일 내에 DocumentRoot 를 찾아 <Directory></Directory> 내에 아래와 같은 구문을 추가한다.
구문 선언해주면 파이썬(.py) 파일을 CGI 로 실행하라고 선언을 완료한것이다.
    <Files "*.py">
        Options ExecCGI
        AddHandler cgi-script .py
    </Files>
구문을 추가한 예제
#
# DocumentRoot: The directory out of which you will serve your
# documents. By default, all requests are taken from this directory, but
# symbolic links and aliases may be used to point to other locations.
#
DocumentRoot "C:/Bitnami/wampstack-8.1.1-0/apache2/htdocs"
<Directory "C:/Bitnami/wampstack-8.1.1-0/apache2/htdocs">
    #
    # Possible values for the Options directive are "None", "All",
    # or any combination of:
    #   Indexes Includes FollowSymLinks SymLinksifOwnerMatch ExecCGI MultiViews
    #
    # Note that "MultiViews" must be named *explicitly* --- "Options All"
    # doesn't give it to you.
    #
    # The Options directive is both complicated and important.  Please see
    # http://httpd.apache.org/docs/2.4/mod/core.html#options
    # for more information.
    #
    Options Indexes FollowSymLinks

    #
    # AllowOverride controls what directives may be placed in .htaccess files.
    # It can be "All", "None", or any combination of the keywords:
    #   AllowOverride FileInfo AuthConfig Limit
    #
    AllowOverride None

    #
    # Controls who can get stuff from this server.
    #
    Require all granted

    <Files "*.py">
        Options ExecCGI
        AddHandler cgi-script .py
    </Files>
</Directory>
4. bitnami 관리 프로그램을 실행한 후 Apache Web Server 를 선택 후 Restart 한다.

5. 정상적으로 선언이 되었는지 확인을 위해 아래의 예제 파일을 만들어보자.
(예: C:/Bitnami/wampstack-8.1.1-0/apache2/htdocs/index.py)
#!python
print("Content-Type: text/html\n")
print('hello')
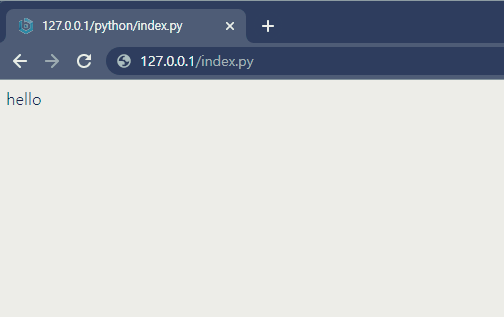
6. 브라우저를 통해 아래의 접속 경로로 파일 내용이 정상 출력되는지 확인해보자.
hello 라는 글자가 나왔다면 잘 선언이 된것이다.
이제 파이썬을 열심히 공부해보자!!
반응형
'Programming > Bitnami WAMP' 카테고리의 다른 글
| [Bitnami] MariaDB 루트(root) 비밀번호 재설정 (0) | 2022.11.07 |
|---|---|
| [Bitnami WAMP] HeidiSQL 데이터베이스 관리툴로 접속 설정하기 (0) | 2016.01.18 |
| [Bitnami WAMP] phpMyAdmin 외부 접속 설정 (0) | 2016.01.15 |